Paper Lanterns from SOS coloured bags (inspired by
www.landeeseelandeedo.com)
This tutorial shows you how to make these lovely decorations - perfect for Easter!
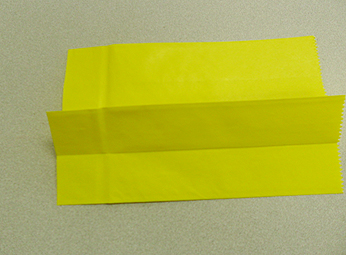
1. Fold the bottom of your paper bag back onto itself.
2. Cut along the crease to remove bottom of bag. Now is also the time to even out the top of the bag if needed.
3. On each side of the bag, fold the sides in on themselves.
4. Continue to crease all along the sides of the bag. Your bag should look like this when you are done folding.
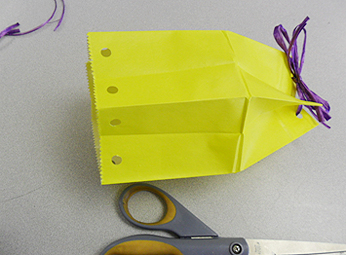
5. Now for hole punching. Grab a fold and punch it out, leaving some room between the top of the bag and the holes punched. Continue along the top and bottom of the bag.
6. You will now want to fold the bag in half. Fold both ways. This will create a crease that gives the lantern its shape.
7. Ribbon or twine time! Weave it through the holes punched in the top of the bag. You can tie it off in a knot, making sure not to pull too tightly – or tie a bow or two, like we did here.
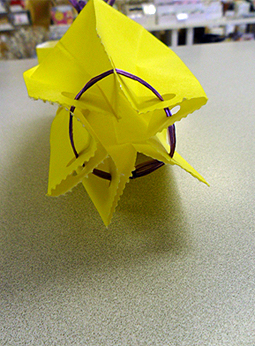
8. Reach into the bag and pop out the centre crease. Play with the creases until they look the way you want them to.
9. Now to cinch up the bottom of the bag. Remember not to pull too tightly on your ribbon, or you may rip the bag. You could tie the ribbon into a bow again, but for the bottom, we just tied a knot.
10. Ta da! You now have a paper lantern! These look fantastic hanging or standing. Other ideas for the lanterns include filling them with LED candles for flameproof lighting effects, or cutting out patterns for a lace effect. Have fun!
Creative Packaging
Author
Leave a comment


Creative Packaging
Author